Disney-Inspired Halloween Costume Round-Up

A few years ago, I posted a roundup of Halloween costumes from my past, but it’s been awhile since I last talked about costumes. As we head into the 2018 Halloween season, here’s a mini-roundup of some Disney-inspired costumes that I’ve crafted in recent years for Mickey’s Not-So-Scary Halloween Party at Magic Kingdom Park!

2015: Wilderness Explorer (from the Disney-Pixar film Up)

I’d been wanting to run with this costume idea for some years when I finally decided to go for it. It seemed fairly simple to pull off and I loved all of the small crafty details that went along with it.

IMG_1259

  • Khaki Shorts: I already owned these!
  • Shoes: I didn’t have hiking books, but I already owned these brown Sketchers. I added orange laces.
  • Hat: The cheapest solid-yellow version I could find in an eBay store.
  • T-shirt: Plain, solid-yellow from a craft store.
  • Wilderness explorer logos and flag: Crafted from felt and glue, using an image I found on the internet as a template. Flag also required a wooden dowel and bead.
  • Sash: Sewn from solid brown broadcloth. I freehanded a pattern on paper using my real-life Brownie Girl Scouts sash as a guide (LOL).
  • Neckerchief: Solid orange broadcloth, I sewed the edges just to finish it off, and then used a wooden napkin ring (craft store) to secure it.
  • Badges: I printed images from the internet, cut them out and decoupaged them to small wooden discs. I used hot glue to secure the badges to the sash.
  • Weird Wilderness Explorer pin with beads: I don’t really know what this thing is, but I crafted it using a small square mirror painted brown, and some wooden craft beads, then taped a safety pin to the back.
  • Grape Soda pin: A Disney Parks merchandise purchase.

I had a lot of fun crafting this one, and it was a really comfortable costume, which is important when you’re wearing it to a theme park! The sash with badges did tend to sag a bit from the weight of the badges, so I had to keep adjusting it throughout the night, and the sewing badge fell off within five minutes of me arriving at the party (it HAD to be the sewing badge, right!?) – but other than those small challenges, I’d consider this costume a win!

2016: Fix-It Felix (from the Disney film Wreck It Ralph

This is another costume I’d had in mind for a few years, but I held back, thinking that it was better served as a group costume, and I didn’t know anyone who was willing to be my Ralph or Vanellope. But I finally decided I didn’t want to wait around for someone to be part of my group, and I moved full speed ahead with my dreams of being Fix-It Felix.

IMG_1260

  • Navy Shorts: I already owned these! I would have worn jeans if it had been cold outside.
  • Shirt: Purchased from the boys section at Walmart. I ordered an iron-on patch with my name from Etsy.
  • Hat: I already owned this hat, but created a “Fix-It Felix” logo from felt and lightly basted it over the existing logo on the hat.
  • Belt: A stretchy fashion belt from Walmart. I folded it and sewed a straight line from top to bottom to form a “loop” on one hip to store my gold hammer.
  • Hammer: I found a plain wooden hammer toy on Etsy, then spray painted it gold.
  • Shoes: I struggled with the shoes for this costume because I knew they were a distinctive part of Felix’s overall look, but real work boots are expensive. I really didn’t want to get expensive shoes just for a Halloween costume. I ended up finding these shoes in the boys department at Walmart, which give the appearance of work boots without being so expensive (since they’re squishy and don’t actually have steel in the toe). And although wearing kids’ shoes would normally be a stretch, they were super roomy inside and fit me just fine because of the style. Yay!

I’m so glad I decided to move forward with my Fix-It Felix dreams, even without anyone to be my Wreck It Ralph sidekick(s). One unexpected highlight of the night was running into other Ralph/Felix/Vanellopes throughout the park. They were more than willing to take a photo with me to complete my look!

2017: Mary Poppins 

My Mary Poppins inspiration started with a black skirt that I already own and regularly wear to work. A good black skirt seemed like one of the more important staples for a Mary Poppins costume, based on some Pinterest ideas I’d seen, so I decided to run with it.

image9

  • Blouse: Purchased from Amazon after searching for various options like “victorian blouse” and “lacy blouse.” I chose this one because it was sleeveless, which is perfect for a Florida Halloween party.
  • Belt: Not actually a belt, but just a red ribbon from my craft room that gives the appearance of a belt.
  • Hat: A black straw hat from Amazon. I accessorized it by using hot glue to attach some flowers I already had in my craft room, leftover from a wreath project.
  • Bow tie: I sewed this using solid red broadcloth I already had in my fabric collection.
  • Carpet bag: A super lucky find at Goodwill for just $2!
  • Parrot head umbrella: The craftiest part of my costume! I really wasn’t sure how I would approach the making of this umbrella, but I love the way it turned out. I molded a parrot out of Crayola Model Magic clay (that stuff is SO fun and SO amazing!) onto the handle of a cheap, black umbrella from Walmart. I used some of my craft paints to paint the parrot, and sealed it with a clear sealing spray. The Crayola Model Magic was the GREATEST decision since it was so versatile and most importantly, lightweight. I can see why the Cosplay community loves it so much.

So there you have it – the last three year’s worth of Halloween costumes. You’re probably wondering what I have up my sleeve for 2018. Keep an eye on my Instagram account for a reveal in just a few weeks!

Happy (almost) Halloween!
img_0981


A rag quilt for baby Logan

Back in May 2014, I introduced you to my friend Amanda when I sewed a “Mustaches & Elephants” quilt for her soon-to-be-born baby boy, Liam. It was one of my very first rag quilt projects, in a size/layout that I’ve repeated for many new babies since!

On the Sew Lindsay Sew blog: Mustache and Elephant Rag Quilt

Mustaches & Elephants Quilt

This October, four-year-old Liam is going to have a new baby sister – Logan! And… spoiler alert… Auntie SewLindsaySew made a quilt for Logan, too. I know you’re shocked. 😉

Logan’s nursery will have a “woodland animal” theme, so I chose a deer/owl/squirrel fabric as my starter print and then worked from there. All of the fabrics are from Joann Fabrics. I think I say this with every project, but… this might be my favorite fabric combo yet.

IMG_1656

But the best part about Logan’s quilt is that I knew her name in advance and could incorporate it into the quilt. I used the “My ABCs” Paper Piecing Quilt Pattern from Diane Bohn with FromBlankPages, which I won a few years ago in a giveaway Diane was hosting on Instagram. I’ve used the letters a few times for other projects (like this amazing Winnie pillow) but never a baby quilt. Since Amanda and her husband Josh shared Logan’s name so early on, I was happy to do it with this project!

IMG_1655

Of course, no SewLindsaySew project is complete without a behind-the-scenes photo of Winnie getting all up in its business. Every time I turned around, she was making herself right at home. Here’s a pic from when I was in the process of adding the name.

IMG_1657

As it turns out, the color scheme I chose for this quilt is also very similar to what Amanda has chosen for the baby’s room, and I didn’t even know it. Coincidental and magical! I guess that’s why we are friends. 🙂

See you soon, Baby Logan!img_0981


Welcome, Baby Nora!

It feels like just yesterday I was writing the blog post titled “Welcome, Baby Finn!” And now I’m writing part two – Welcome, Baby Nora!

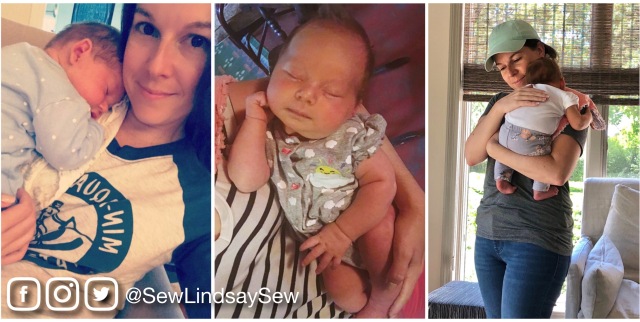
Baby Finn is not such a baby anymore, and now he’s a big brother to sweet Nora Elizabeth – my beautiful niece, who is just six weeks old. I had the honor of meeting Nora and spending lots of snuggle time with her last week. A few years ago, I didn’t have any nieces or nephews – and now I have two! I feel so lucky to be an Auntie times two.

IMG_0502

I had a tough time deciding what kind of quilt to make for Nora. I really liked the airplane quilt I made for Finn, and initially felt like I should make a similar one for Nora – just swapping out the color scheme and the airplane shape for something new.

img_7532

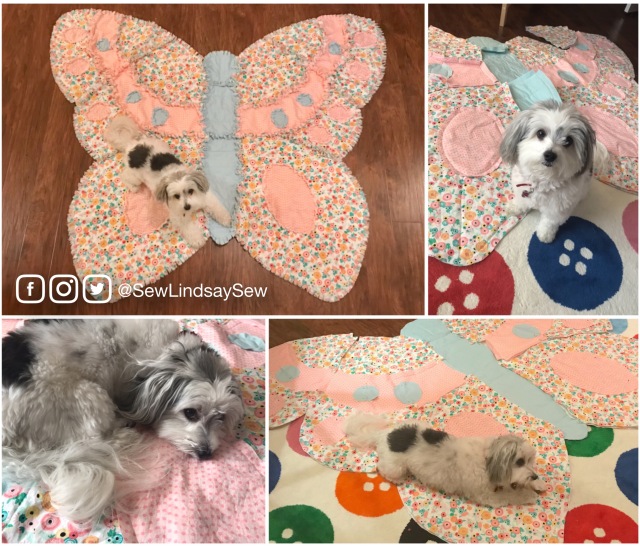
But I eventually decided to do something completely different and one-of-a-kind, made just with Nora in mind. I was sorting through the patterns I’ve had in my collection for a few years, and I found Simplicity 2935 – a butterfly rag quilt. I did some Googling to see what other people’s finished quilts looked like, and I was completely sold after seeing a photo of a baby laying on a finished quilt. It looked like the baby had butterfly wings!

Here’s a photo of Nora with her finished quilt. I love, love, love how it turned out. Look at this sweet baby butterfly!

Simplicity 2935 Rag Quilt - Pattern Review

I spent a lot of time shopping around online for fabric. The reason I started online versus in the store is because I wanted to find a collection that was designed to go together. When I saw this fabric from Riley Blake, I knew I had to have it!

Riley Blake Fabric - Just Sayin' by My Mind's Eye, Confetti Cottons Songbird

The floral and pink fabrics are from a collection called Just Sayin’ by My Mind’s Eye (White Floral and Pink Dot) and the mint fabric is the Confetti Cottons Songbird Solid, also from Riley Blake. This was the first time I’ve worked with a designer fabric like Riley Blake, and – wow! I could really feel the difference in quality from the type of fabric I’d typically get from a big box store.

Because I’m a perfectionist when it comes to my projects, especially a project as important as a quilt for my very first niece, I first used Photoshop to mock up what the butterfly pattern would look like with the fabrics I wanted to use. I had to decide which fabric I’d use for each section so I could figure out how much of each fabric to order.

Simplicity 2935 Rag Quilt - Pattern Review

Side note… I eventually decided to leave the eyes off completely. They’re kind of creepy.

There were an overwhelming number of fabric combinations and possibilities, especially since I first toyed with the idea of using a lot more fabrics – the pattern called for NINE different fabrics. Yikes! I tried some mock-ups with nine fabrics, but I didn’t like any of them, so I eventually narrowed it down to just three.

The fabric math was a little complex since I switched up the fabric numbers from what the pattern called for, and I’ll admit it stressed me out a bit as I tried to figure it out. Luckily, it all worked out and I didn’t have to order any extra once I got started.

Riley Blake Fabric - Just Sayin' by My Mind's Eye, Confetti Cottons Songbird

If you’d like to replicate the butterfly layout above, I got 5 yards of the white floral, and 2 yards each of the pink dot and mint. I JUST made it with the white floral – I had a bit leftover of the other two.

And of course, I had a helper in the sewing room – Winnie! Whenever I lay fabric pieces on the floor, she just can’t help but immediately lay down right in the middle of my workspace. I admittedly spend a lot of time pushing her out of the way (with love, of course), but it’s nice to have company all the same… especially during those late-night sewing sessions.

Simplicity 2935 Rag Quilt - Pattern Review

Here are a few progress pics with my little helper!

Overall, I definitely recommend this quilt pattern. Joining the curved pieces can get little tricky, but the pieces did fit together perfectly like a puzzle and I adore the finished product.

Simplicity 2935 Rag Quilt - Pattern Review

The butterfly quilt not only made for a picture-perfect backdrop for Nora, but also lent to some sweet moments between Nora and Finn as we spent some time outside together last week! Look at this cuteness.

IMG_0480

I can’t wait to see Nora grow with her special quilt!

img_0981


Sewing with friends

What’s better than sewing on a day off? Sewing with friends on a day off!

Since we all had the day off for Labor Day, my friends Joe and Chris came over today for a little sewing party.

IMG_5053

This isn’t the first time we’ve had a sewing party. I taught them the basics many years ago, when Joe sewed a fall themed tissue box cover for his classroom, and Chris sewed a pumpkin. I think this was seven, maybe eight years ago? Hard to believe it’s been that long since we last sewed together!

IMG_5069

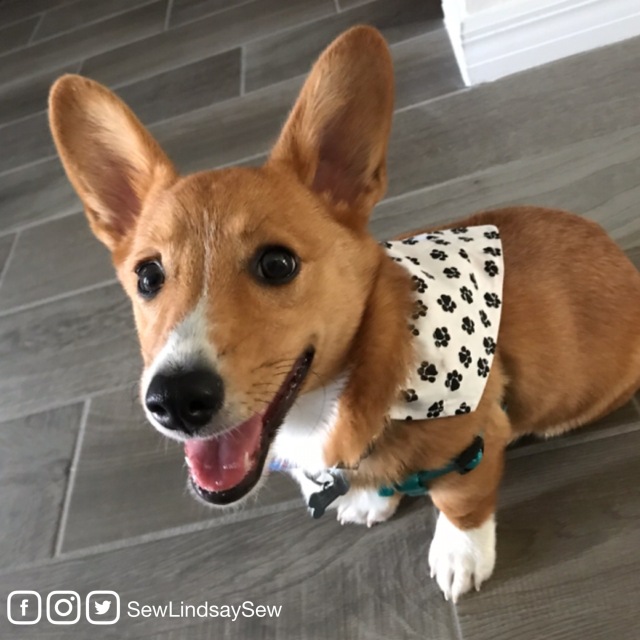
Joe and Chris recently got a dog – an adorable corgi named Ellie. As a dog-warming gift, I sewed Ellie a reversible bandana with a pocket that slips over her collar. I recently started sewing these for my roommate Katie‘s dog, Winnie, too. I really like the way they slide over the collar for the bandana “look” without actually having to tie anything around the dog’s neck.

IMG_5060

Last weekend, Joe and Chris saw that someone at the local farmer’s market was selling these bandanas for $12/each. They decided they’d rather pick the fabric on their own and learn to sew the bandanas themselves. So today they stopped at the store to pick up some fabric, and then came over to sew a few more for Ellie.

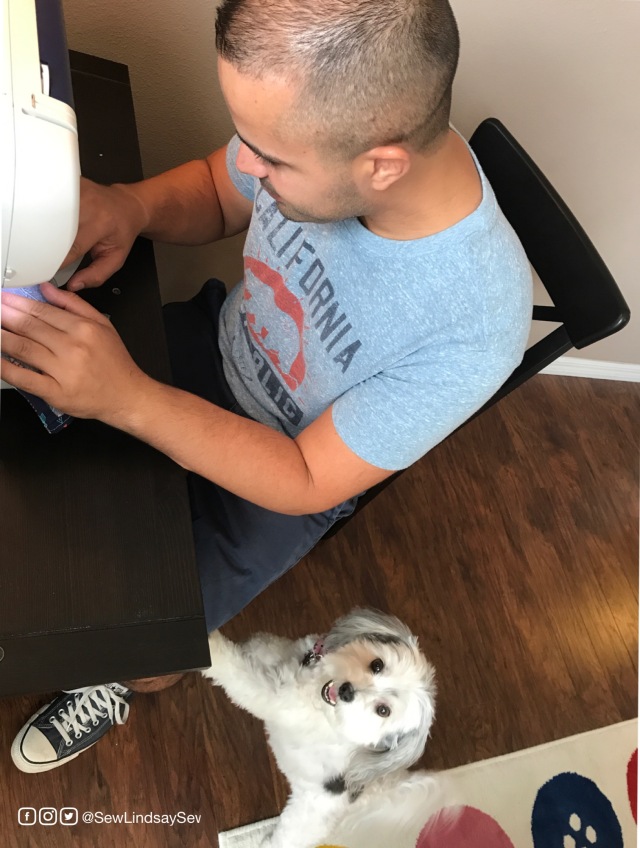
Winnie must have known that today’s project was all about dogs because she was happy to stick by Joe’s side as he sewed.

IMG_5064

First I taught Joe how to make a reversible bandana, while Chris played with my Perler beads… because no craft room is completely without a bucket of Perler beads, right? Chris stuck with the corgi theme of the day by making a corgi-butt out of the beads! LOL.

IMG_5058

Then Joe showed Chris his bandana-making skills, and they teamed up to make a few more. I am so proud of them! They didn’t require very much supervision and did a great job whipping these up.

IMG_5054

When they finished sewing for Ellie, they decided to make an extra bandana for their neighbor’s dog. I hope their neighbor is impressed by their sewing skills!

IMG_5055

I wish we had gotten a photo of the “reverse” side of these bandanas. The fabric combos were lovely!

Once Joe and Chris got home, I got a “virtual” fashion show of Ellie modeling her new bandanas via text. I love the way this one matches the coloring in her fur. Ellie is ready for fall!

IMG_5059

There are a lot of dog bandana tutorials out there, but I like this one best, the Reversible Over The Collar Dog Bandana by Cut Out and Keep. Not only does it have the features that I like best in a dog bandana (reversible, slips over the collar) but the post also includes measurements for five different sizes – Extra Small, Small, Medium, Large and Extra Large. I make the medium size for Winnie, because I like them to be a little bigger. Joe and Chris made small, since they like them to be a little smaller.

If you have a four-legged friend in your life, I would highly recommend this cute and simple little project! Your dog will love you for it. 🙂

Happy sewing!

img_0981

PS – Remember my list of “100 No Pressure Projects?” One of my goals was to teach my friends to sew something during a sewing party, so I can officially check that item off the list! Wahoo!


Life on the rocks: Colorado Springs 2017

I recently had the opportunity to travel to Colorado Springs with my friends Joe and Chris – just for fun. A vacation for the sake of vacation! And let me tell you… we had the time of our lives.

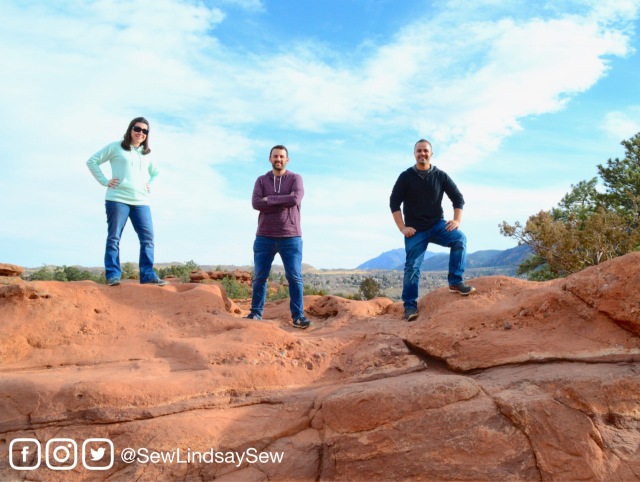
We climbed rocks!

image5

And mountains!

image2

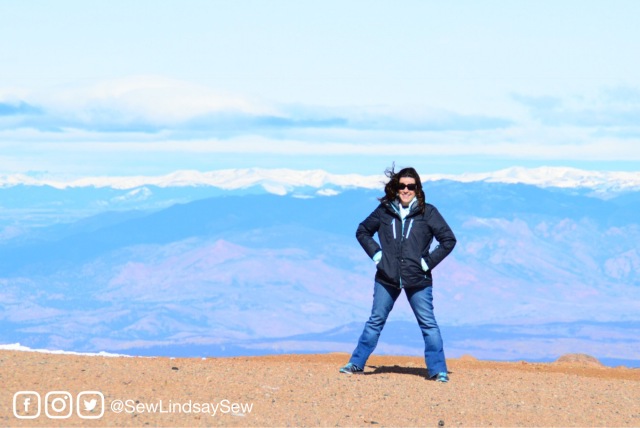
We took a train to the summit of Pikes Peak – 14,000+ feet…

image2

Our heads were truly in the clouds!

image7

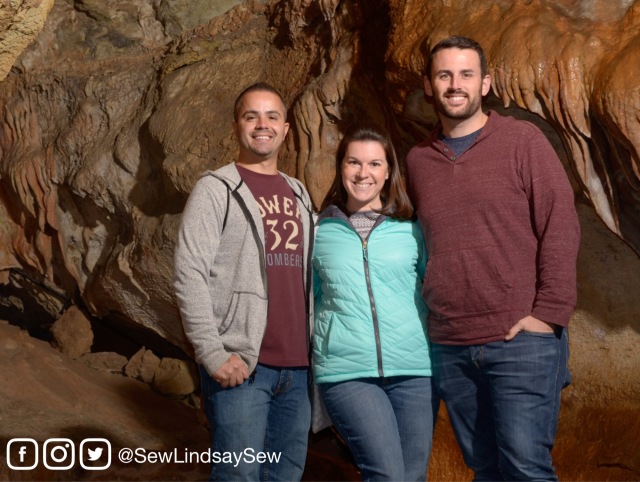
We braved a cave!

IMG_0970

We walked in the footsteps of Olympic athletes at the Olympic Training Center!

image5

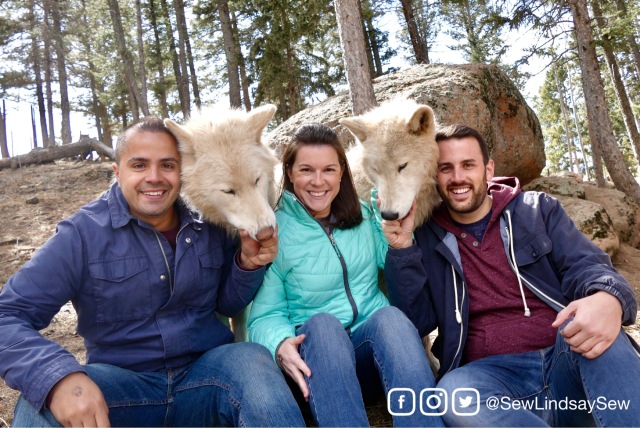
And – the highlight of the trip – WE FED WOLVES (Disclaimer: We did this at the Colorado Wolf and Wildlife Center. Do not try this at home).

image1

Sooooo… where does sewing fit into this story, you ask? Well, there are two sewing stories.

It’s rare that I take the time to sew for myself, but the deeper I get into this sewing journey, the more I realize how useful this skill really is. And this time, it played a part in my vacation prep!

Colorado Trip – Sewing Project #1

I really wanted to have a simple travel purse/bag for all of our adventures. I wanted it to be small so that I would only need to bring the bare minimum with me on each outing – cash, ID, credit card, phone, lip balm, car keys.

I really, really, really love the Zip and Go bag from Dog Under My Desk that I made a few years ago using a pair of Mickey Mouse boxer shorts. It’s my go-to bag every time I visit a Disney Park! But, while the Mickey Mouse fabric is perfect for a Disney Park, I thought it might be a little out of place out there in the real world. Plus, I thought the red/black combo might look a little “loud” in our photos, so I was looking for something a little more subtle.

purse3

So, a week before the trip, I whipped up a gray, polka dot Zip and Go using fabric and hardware I already had on hand. I only had to purchase the zippers! The bag is lined with a solid teal fabric… which is not pictured, but I know it’s there! 😉 I had to add a little bit of color to the bag, even if it’s hidden on the inside!

image4

The bag was PERFECT for the trip! I am so glad I took the time to make it happen. I really adore the simple utility of the Zip & Go. Here’s a pic of it in action! We were hiking Helen Hunt Falls and I was giving a stern pose in front of a stern sign. You can see that I’m wearing the bag in a cross-body fashion for the hike.

Colorado Trip – Sewing Project #2

While I was packing for the trip, I revisited the rules on the Colorado Wolf and Wildlife web site. We had signed up for the special “Alpha Tour” because we really wanted to have one-on-one interaction with the wolves, but for obvious reasons, there are some pretty unique safety rules in place for those participating in the experience. For example, while interacting with the wolves, you cannot wear fur (even faux fur) or sheepskin. You also cannot have fringe, tassels, etc. on your clothes.

IMG_0976

These are the exact wolves we met! Raksha and Isha – they are Arctic wolves and only 10 months old.

While revisiting the rules, I realized that even skinny jeans were banned. Well, ever since I identified the need for skinny jeans in my life a few years ago, I have pretty much only worn skinny jeans. I’d outgrown or worn out all of my non-skinny options.

So, just a day prior to our departure, I headed over to Old Navy to grab some boot cut jeans for my wolf adventure. And of course… they needed to be hemmed. Once again, I experienced the magic of hemming jeans and maintaining the original hem. It’s one of my favorite sewing techniques. So useful and impressive!

image1

And honestly, I’m glad that I had two pairs of jeans on the trip. I ended up wearing the new jeans quite a bit, and I realized that the skinny jeans would not have been the best option for hiking, etc.

image6

So there you have it. Another vacation, a slew of life experiences, a million photos – and two more sewing projects for the books! 

Till next time!


Welcome, Baby Finn!

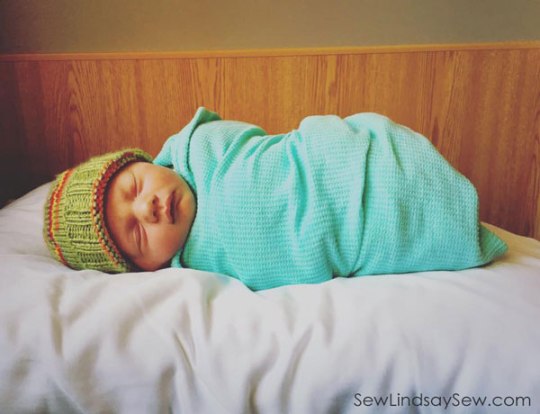
First comes the love, then comes the marriage, then comes… my very first nephew in a baby carriage! At around 4 a.m. on September 24, I was overjoyed to receive a message that Finn Joseph had finally arrived. Isn’t this the most precious baby you’ve ever seen? I know I’m biased, but… BEST. NEPHEW. EVER. Look at that baby burrito bundle. LOOK AT HIM. (It’s my job, as the auntie, to tell you to LOOK AT HIM in all caps. Because that’s what aunties do, and also, BECAUSE HE IS AMAZING.)

finnjoseph

Given my brother Jason’s love of planes, while most babies are delivered by a stork, I’m fairly certain Finn arrived via whimsical airplane, although my sister-in-law Sarah may have a different perspective. 😉 My brother is a recreational pilot, so him and Sarah like to go on lots of little adventures in their plane. Jason even asked Sarah to marry him while they were flying. And both of the baby’s grandfathers – mine and Jason’s dad, and Sarah’s dad – also have a special interest in airplanes. So needless to say, this baby has no choice but to love airplanes.

In fact, at just 6 weeks old, Finn experienced his first flight!

img_0198

When I heard a baby was on the way, I knew an airplane-inspired gift was in order.

I researched some airplane-inspired quilt patterns, and while there were many miscellaneous features that I liked with each pattern, there wasn’t one pattern that stood out as The One, so I decided to do my own thing.

I don’t know why I always choose to go down this road of doing “my own thing.” It’s mentally exhausting, I experience a ton of decision fatigue and I spend most days convinced that I’m just messing the whole thing up. But at the same time, I refuse to settle for what’s out there … and that’s why I love making things! Ahh, the beauty (and the pain) of DIY.

image2

I decided to take a risk and do something I’ve never done before, combining two skills from my sewing/quilting experience toolbox: foundation paper piecing and rag quilts. While I’ve done quite a bit of each of those things separately, I’ve never rolled the two skills together. But I’m most comfortable making rag quilts for baby gifts, and I was equally passionate about wanting to include paper-pieced airplanes.

img_7532

Other than substituting the airplane blocks for some solid blocks, the process was really no different than the typical raq quilts I’ve made. A few adjustments:

  • I added some additional fabric around the border of each of the airplane blocks to for extra seam allowance. Since the seam allowance gets cut up on a rag quilt, I didn’t want the planes to be cut up.
  • While I typically just quilt an “X” on each block for rag quilts, on the airplane blocks, I quilted around the border of the airplanes.
  • I made 12 airplane blocks total, and in order to best showcase them, I came up with a new, square layout versus the rectangular layouts I’ve used in the past.

I love the way this quilt turned out, and I was especially pleased with the fabric combination, the square layout and the inclusion of the paper-pieced blocks. I wouldn’t hesitate to make a quilt like this again, replacing the airplanes with any other fun paper-pieced shape.

lindsay

But the true test was introducing Finn to his quilt a few weeks ago when I met him for the very first time. Actually, it wasn’t really Finn’s first time seeing his quilt. He was already a month old by the time I got to fly across the country to meet him, and he had spent a lot of quality time in his nursery by the time I met him. But he was polite enough to act surprised for the photo anyway. What a nice boy!

finnquilt

I think it’s safe to say – this quilt is Finn-tested, Finn-approved!

LindsaySignature

Wreath-a-palooza

It was a year ago last April that I closed on my house, but it was a year ago this Memorial Day weekend that I moved in! And what a glorious year it has been.

2016-05-30-05.07.39-pm

I love living in a house that I’m proud to call home and I love my neighborhood (in other words, I love amusing myself by reading the ridiculous complaints the residents have on the neighborhood Facebook group). Woot woot.

I’m a little slow when it comes to decorating decisions, but things have been creep-creep-creeping along throughout the year. There are still a lot of blank walls to fill (but at least they’re not boring white walls!)… and I still have a number of small furniture pieces and throw rugs on my wish list. But in my defense, the list of accomplishments is long, too: I’ve built about a billion pieces of furniture, power washed the back porch, replaced my ancient hand-me-down Christmas tree, installed new hooks above the garage for my legendary Mickey Mouse wreath, conquered dry wall anchors and, a few weeks ago, even installed a new toilet fill valve all by myself. Bam.

But, back to the decorating (or lack thereof). One decorating decision that has been incredibly easy and fun is creating seasonal wreaths to hang on the front door. My front door faces the street and is in full view of anyone walking down the sidewalk, so I thought it would be fun to make it clear that someone lovely lives here! Wreaths are also non-commital (therefore non-scary) decor, so I had no problem jumping right in. 😉

wreath---spring

I looked at lots of ideas on Pinterest before making my first wreath, and decided I liked the look of a simple grapevine wreath the best. I liked it so much, in fact, that all of my wreaths have ended up being simple grapevine wreaths with similar one-sided layouts. What can I say, I’m a girl who knows what she likes!

Wreaths

If you’ve never made a wreath before, I’d recommend the grapevine wreath for a lot of reasons. One, it’s really inexpensive, so if you mess up, no big deal. The wreath forms I pick up at the craft store are usually in the $3-6 range. And two, they’re really easy to work with – you can wedge your flowers (or whatever) in between the branches and play around with the overall layout before gluing anything down. And when it does come time to glue (I use hot glue) – there’s a lot of twisty surface area for the glue to drip down and cling to.

Wreath-winter

You really don’t need many flowers for these projects – just two or three small bundles would be more than enough, or, in the case of my patriotic wreath, just one large, pre-mixed bunch.

wreath---patriotic

I made the pennants using fabric scraps!

The part that I find to be the most fun is looking for the accessories – aka, the little stuff-on-sticks (like that adorable scarecrow) that easily sticks down in between the branches to mix it up. Make sure to circle the entire craft store for these items – sometimes the best accessories aren’t necessarily found in the floral department. You never know where you’ll fine something that might work!

wreath---fall

I love that scarecrow so much!

I now have these four wreaths ready to go for upcoming fall/winter/spring/patriotic seasons, but I’m not going to stop there. I definitely need to add a Valentine’s Day wreath to the bunch, at the very least! And maybe a birthday wreath. But monthly wreaths would be pretty magical, too. ❤ ❤ ❤

Happy Wreath-ing!

LindsaySignature


Mother’s Day: I passed with flying colors

My mom knows the drill: Mother’s Day is the “homemade” holiday, and therefore, Mother’s Day gifts come from my craft room (whereas her birthday, one month later, is the “Amazon” holiday… LOL). Previous Mother’s Day gifts included a jewelry roll and a nail polish tote.

How do you thank the woman who taught you the invaluable life skill of using a photo booth?

This past year, my mom has really embraced the “adult coloring” craze – aka, the trend where adults get high-quality coloring books with really intricate designs, using colored pencils or gel pens to meticulously fill the page with color. Her coloring book collection has grown exponentially throughout the year and I’ve had fun sitting at her kitchen table coloring with her whenever I visit my parents. My mom even started a coloring group where a bunch of ladies get together and color and talk about life a few times a month.

But I’ve got to hand it to my mom – her coloring skills are top-notch, and she has much more patience for the intricate designs that I do (I usually abandon my coloring page a quarter of the way into it). Even though my mom claims not to be creative, crafty or artsy – she’s always been a rock star when it comes to coloring. Whether it was a school project or a children’s menu in a restaurant, I remember watching her and thinking, “WOW. Moms are so good at coloring.” Turns out, it’s not all moms that are good at coloring. Just my mom!

Here are a few of her finished works of art…

Coloring

Given my mom’s love of coloring, this year’s Mother’s Day gift was a tote bag (possibly for toting her coloring books!) made with coloring-book-esque fabric… and of course, paired with fabric markers so the bag can be COLORED!

IMG_5833

The “coloring book” fabric is My Little Garden by Olivia Henry on Spoonflower (fun fact, this fabric is also available as WALLPAPER you guys – how rad is that!?) and the tote bag pattern is the Outta Time Tote by Dog Under My Desk. I have written about Dog Under My Desk patterns many times in the past and I really can’t gush about them enough. They’re the best bag patterns I’ve ever worked with and worth every penny.

I used black zippers (which killed me, because you know how much I love bright-colored zippers – but it was the right decision) and lined the bag with a generic black and white leafy print.

FullSizeRender_6

I anticipated my mom would open the gift and immediately say, “I can’t color this bag! It’s too nice! I’ll ruin it!” Therefore, I also made this zipper pouch with leftover fabric so she could “test” the fabric markers and her coloring skills.

FullSizeRender_3

Turns out, my mom’s reaction went exactly as planned, so the add-on was a good call. Plus, she really loves having the extra zipper pouch for carrying her colored pencils to her coloring group.

FullSizeRender_2

Another Mother’s Day, aka Homemade Holiday, on the books! Till next year…

LindsaySignatureP.S. – For other completed Dog Under My Desk projects, check out my previous posts:


Simplicity 2685 (aka, the six-year-project)

Let’s take a moment and go back in time, to the beginning of my sewing journey back in 2010.

Back to the future meme

When I first decided to start this sewing adventure, I was enthralled with the idea of choosing my first pattern. I scoured all the patterns available from the “Big Four” (Simplicity, Vogue, Butterick, McCalls) trying to decide which pattern would make the cut.

It’s important to note that this was before I learned how many freebies and tutorials the internet had to offer – nowadays, my advice to beginners is always DON’T USE COMMERCIAL PATTERNS when you’re a complete newbie – but alas, I chose a Big Four pattern because I just didn’t know any better.

giphy

After much deliberation, Simplicity 2685 won me over – an accessories pattern that included four different purses. I had seen the pattern listed on a review web site, described as, “easy for beginners.” Awesome! Continue reading

In hot pursuit of an adventure: our experience at International Hot Glass

If there’s one thing I love more than sewing, it’s mini-adventures. I call them mini-adventures because I’m not talking about climbing Mount Everest, here. I’m talking about one-day experiences that typically include one or more of the following elements (mix and match as you please):

  • Close to home (no more than a day trip away)
  • A “hidden gem” activity that most people have never heard of (something more interesting than eating out or going to a movie)
  • An activity with local flair (I love being a tourist in my own zip code)
  • Trying something new (even if it’s just new to me or my friends)
  • And of course, as someone who writes a sewing blog… bonus points if it’s a crafty activity!

Past adventures that I’ve participated in, that I feel meet some of the criteria I’ve outlined above:

Well shoot, look at that long list of adventures! And to think there’s still so many more on my list that I have yet to conquer. For that reason, I try to plan a mini-adventure every year for my birthday. In years past, I’ve gone camping at Disney’s Fort Wilderness Resort (hence the archery lessons!) or dragged all of my friends to one of those “make a fancy canvas painting while drinking wine” type places.

Archery lessons for my 25th birthday with my previous roomie, Elizabeth.

Archery lessons for my 25th birthday with my previous roomie, Elizabeth.

This year, I decided to go crafty with a glass art workshop!

Continue reading